Tutorial on etching tungsten probes
Contents
Introduction
This article describes a procedure for making extremely sharp needle probes by electrochemical etching of tungsten wire.
This process was loosely modeled on a paper published in 2002 ((Reproducible Electrochemical Etching of Tungsten Probe Tips)) but omits the automatic-cutoff process used in that paper since extremely fine (5nm) points are usually not needed. At some point in the future we intend to build such a control unit and publish the design.
Equipment and chemicals required
- Tungsten wire. Amazon sells a 5-foot length, enough for dozens of probes, for under $10.
- Potassium hydroxide (KOH) for use as electrolyte
- DC power supply
- Copper wire
- 10ml beaker
Procedure
Cut off an inch or so of the tungsten wire with sheet metal shears. (Do not use normal copper-grade wire cutters; tungsten is much harder and it will damage the blades.)
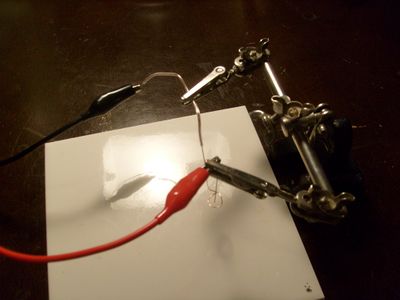
Prepare a loop of bare copper wire and suspend it from a "third hand" or similar apparatus. Connect the copper to the negative terminal of the power supply.
Clip the tungsten into an alligator clip and center it in the copper loop.
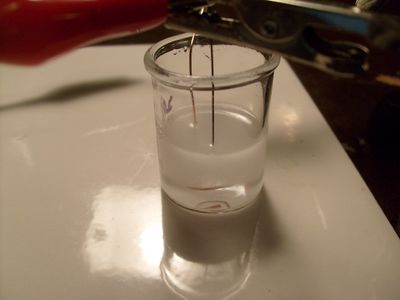
Dilute the KOH with water to 2M strength and pour several ml of the solution into the beaker. Place the wire assembly into the beaker and connect the tungsten electrode to the positive terminal. Apply power (3VDC is a good value to start at) to begin the etching process.
Be warned that the bubbles created by the electrolysis will atomize droplets of the corrosive KOH electrolyte solution. This process should ideally be done in a fume hood; if this is not possible take care to avoid breathing any of the mist coming off the beaker. All surfaces in the immediate area of the apparatus should be wiped down afterwards to prevent corrosion.
As the etch proceeds the wire will "pinch" to a point just below the surface of the solution, then finally break. Reducing voltage to 0.5 - 1V after most of the material has been etched away will result in a smoother finish on the probe. To get the sharpest possible point, the etch should be stopped immediately after the break occurs.
The original paper describes an apparatus that monitors the current drawn by the etch and cuts power within nanoseconds when a sudden drop in current occurs. (When the wire snaps the surface area of the electrode drops dramatically, thus causing the current to drop.) This can create a point of less than 5nm tip radius.
For the much duller probes (several hundred nm to a micron) used in typical IC probing, this is not necessary - just keep a close eye on the etch and cut power within a second or so of the break. Overetching too far will dull the point.
Rinse the tip after removal from the electrolyte to prevent corrosion from residual electrolyte.
Photos of finished probes
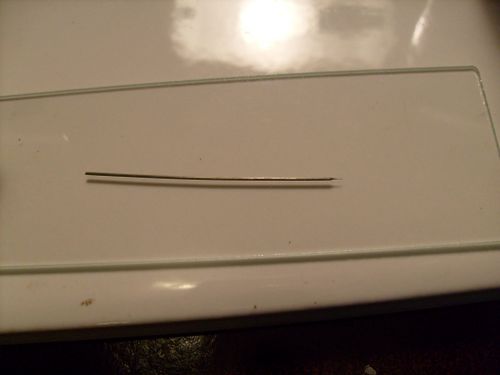
Finished probe on a microscope slide.
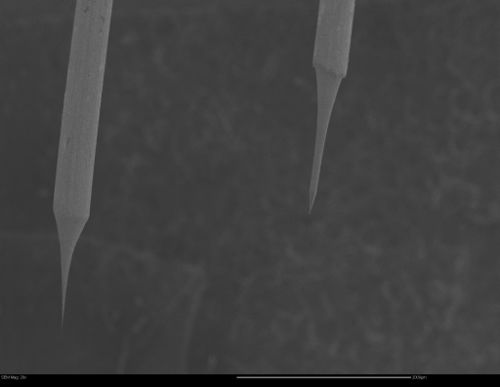
SEM image of two probe tips showing variability in etch profile.
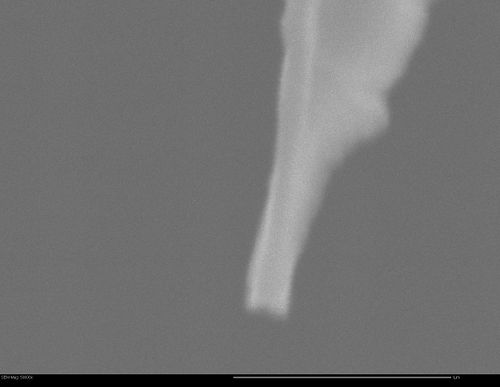
SEM image of one probe tip showing ~200nm point diameter.
