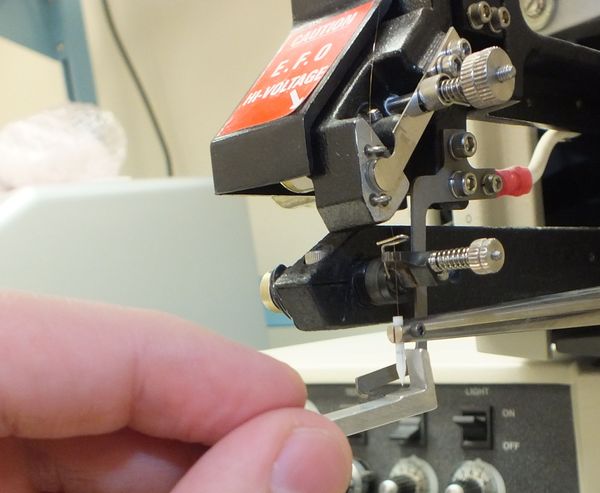
KS 4522
This article describes the care and feeding of the K&S 4522 semi-automatic ball bonder.
Contents
Gross Anatomy
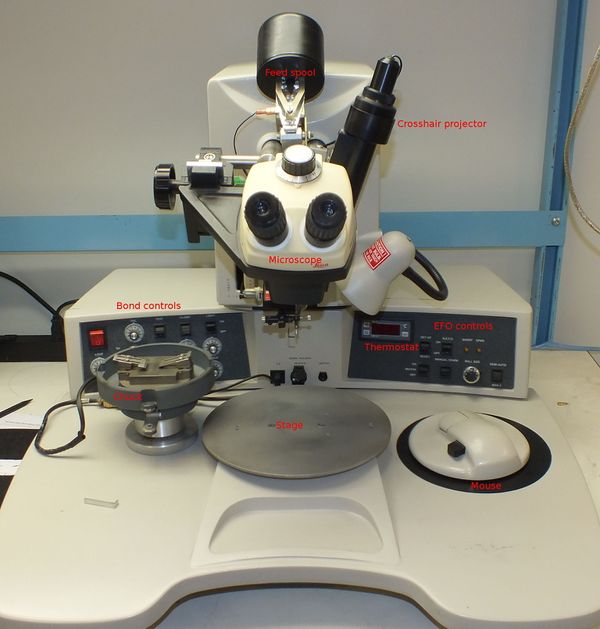
The figure below shows the major components of the bonder.
Startup
Turn on the power switch. The "1st" and "2nd" lights on the left control panel should both turn on briefly, then the "2nd" will turn off and the "1st" will stay on.
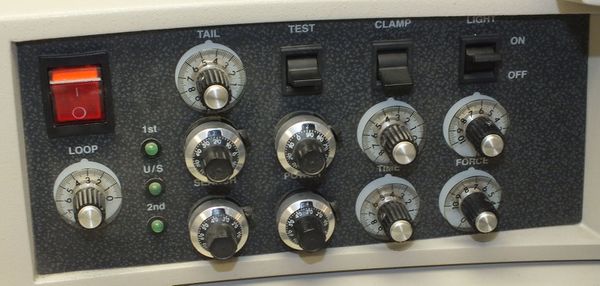
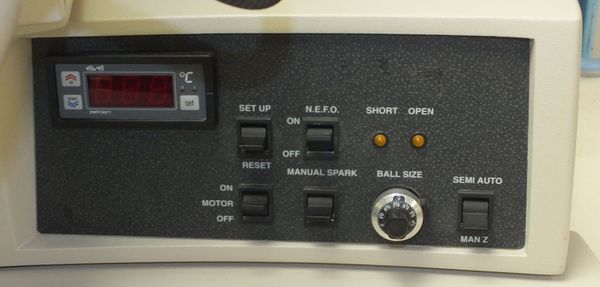
The standard control configurations are as follows. These are not ideal for every application but are a good start for process development. Note that these parameters are in arbitrary units and target values for the same process may vary slightly between individual machines. These parameters were developed for the specific unit pictured by AZ and a service technician for the bonder during training.
Search height is only used for semi-auto mode and is not used in manual-Z mode.
Left control panel
- Clamp closed (down)
- Light on (up)
- Loop 3.1
- Tail 4.4
- 1st bond
- Search 221
- Power 251
- Time 3.2
- Force 6.1
- 2nd bond
- Search 236
- Power 300
- Time 4
- Force 7.0
Right control panel:
- Ball size 371
- Chuck temp 54C
- Setup/reset in middle (normal) position
- NEFO (HV power supply for ball formation) on
- Motor on
- Mode switch in "manual Z" position
Tool lift lever (left and behind of bond head) should be pushed all the way down
Place the chuck/work holder assembly on top of the stage, being careful not to hit the capillary with the sample or chuck. Adjust chuck height as necessary. FIXME: What is typical clearance from resting capillary tip to bond surface? Need to measure. In semi-auto mode, the search height should be adjusted so that it is 75-125 um above the bond pad or leadframe.
Shutdown
Remove work holder from under capillary to reduce the risk of breaking the capillary if the machine is bumped.
Turn off the power switch and put the dust cover over the system.
Emergency procedures
FIXME: Write this
Basic operation
NOTE: This section only describes manual-Z mode. The semiautomatic mode may be better for high volume but in a prototype it's easier to do it by hand than configure the semiauto height adjustment.
- Turn on the machine and re-thread the wire if necessary.
- Mount the sample on the chuck. DIP-style packages can be put over the aluminum jigs and held in place by the clamp. SMT packages are typically attached with double sided Kapton tape.
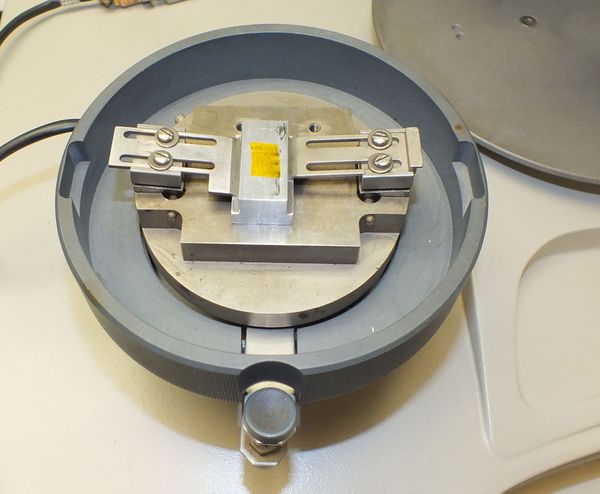
- Adjust settings as necessary. Changes to the bond force will only take effect when the "setup/run/reset" switch is in the "setup" position, in "run" mode this knob is locked out.
- To make the first bond:
- Use the mouse to position the capillary near the bond pad and push slowly in on the mouse thumb button to lower the capillary until it's just above the pad. Putting the midpoint of the capillary and its reflection on the bond pad usually gives good alignment. (FIXME: Get a photo of this). The projected crosshair can be used for alignment (once calibrated using the X and Y axis knobs on the crosshair projector) but in AZ's experience this is only viable for the second bond; the crosshair is typically difficult to see on highly reflective die surfaces.
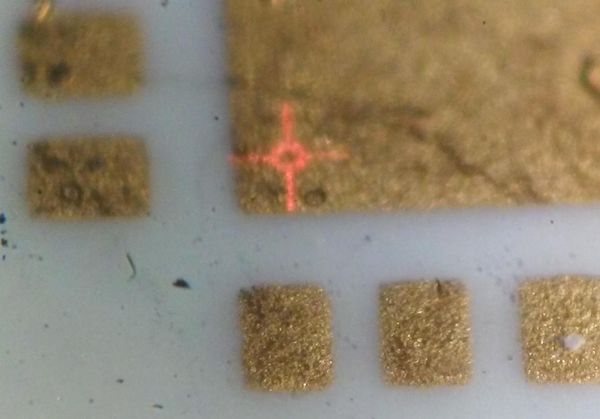
- After the capillary is aligned, press the left mouse button to make the first (ball) bond.
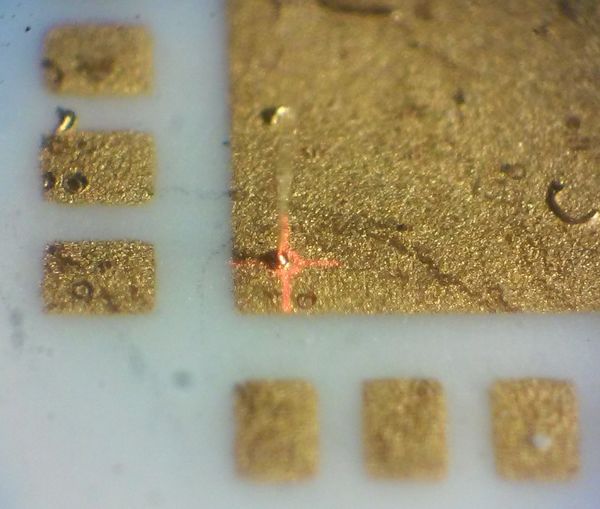
- If the bond does not stick to the die, the ball will be damaged and cannot be re-used. Move the capillary over a leadframe bond pad or the carrier island and click the left mouse button to bond off the damaged ball and prepare a new ball.
- To make the second bond:
- Align the capillary over the pad on the leadframe.
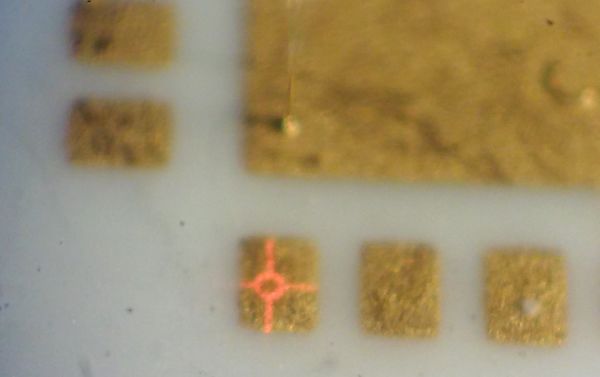
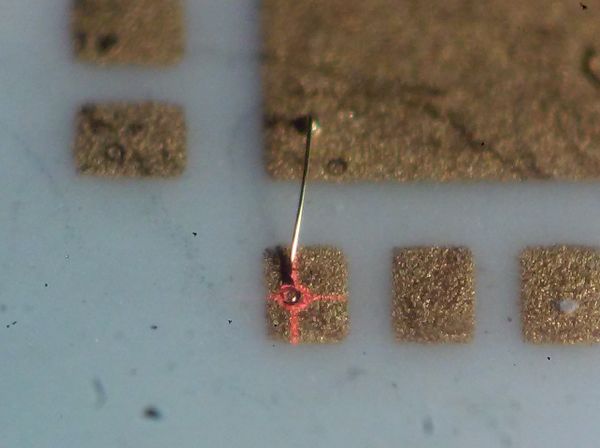
- Lower the capillary to check position, then click the left button to make the second bond. After the bond is complete the capillary will lift up and the NEFO wand will move in and strike an arc to the wire to form a new ball.
Process development / troubleshooting
FIXME: Expand this section
- Final bond ball should be 2-3x wire diameter. If too squished, reduce power, pressure, or time (in that order)
- If loops sag, increase tension on glass plate
- If wire snaps when trying to feed the loop, reduce clamp tension
- If clamp doesn't close fully, increase clamp tension
- Drag plate tension should be just enough to remove slack
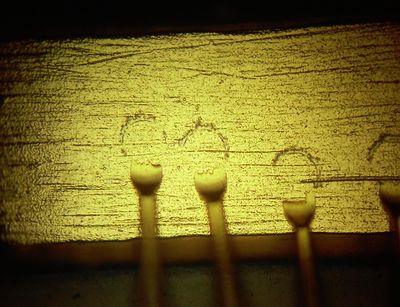
- If second bond does not have visible ring (as seen below), increase power.
- If mouse sticks, rub a small amount of wax into the black mat area under the mouse
- If temperature reads "EEE", thermocouple cable is loose or damaged
- To remove excess wire, or if the spark didn't strike, push the solenoid for the NEFO wand in until it is ~0.5mm from the wire then push the "manual spark" button down. Adjust the position of the NEFO wand until an arc strikes. This may also be necessary if the "open" light turns on during an attempted automatic spark.
- If wire consistently breaks after a bond, use less power (?)
- If stage doesn't move verify motor switch is on
- If capillary needs to be re-threaded, open wire clamp by pushing the clamp switch up then back down to close when done. If clamp is left open for more than ~3 mins a watchdog timer will trip and the "1st" and "2nd" LEDs will both light up (FIXME: and blink?). To clear this error condition close the clamp and push the reset switch down, then let the system re-initialize.
- If capillary is clogged with wire break off the bad piece, push a new piece in from the top, and use the ultrasound test mode to shake the clog out. The capillary is ceramic so more persistent gold clogs can be removed with aqua regia.
Bond force calibration
- Put mode in semiauto
- Go to setup
- Click and hold left mouse button
- Push up on transducer arm just behind capillary with spring scale and measure force
Target force range for typical process is 40-60 gf
Maintenance
Capillary replacement and height adjustment
Place a soft material over the stage plate to protect the capillary if it drops. ESD foam is commonly available and does the job just fine.
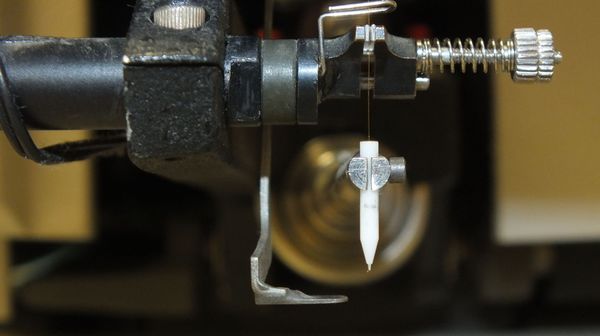
Loosen the setscrew and remove the old capillary, if any. Insert the new capillary from the bottom and position it such that about one capillary diameter sticks out of the top of the transducer arm, then tighten the setscrew. Handle the capillary with tweezers or gloves to avoid getting finger oils on it.
To calibrate the capillary position place the height gauge below and behind it, loosen the setscrew, and lift until the tip of the gauge hits the transducer arm, then tighten.
To check the capillary installation push the test switch (left control panel) down briefly. The ultrasound ("U/S" LED on the left side control panel should turn on. If if does not, the capillary position is wrong and this is preventing the transducer from oscillating. If the capillary vibrates free, re-install and tighten the setscrew more.
EFO wand height adjustment
Vertical knob at top of bond head adjusts height. Knurled knob at left is lock.
FIXME: Target distance from capillary?
Wire feeding
- Remove cover over wire spool
- Remove glass plate with tweezers
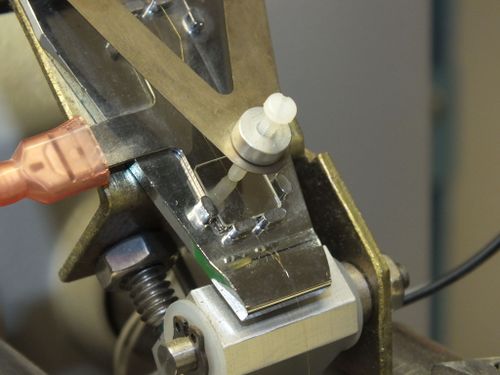
- Remove feed funnel, handling by the glass shaft. Avoid getting fingerprint oils on the silver flange above the spool, wear gloves or clean with IPA if necessary.
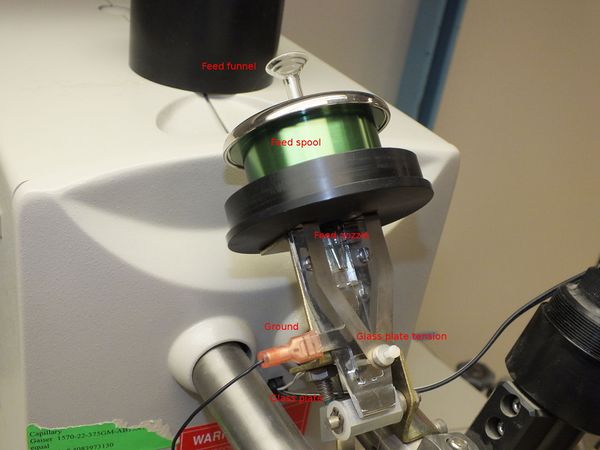
- Remove old wire spool and insert new one. It is important to insert it right side up; the top (start) of the spool is marked in red and the bottom (end) is marked in black.
- Re-insert feed funnel. Insert about 0.5-1 inch of wire into the top of the feed funnel. Use a small puff of duster spray to gently blow the wire through the funnel and out the nozzle.
- Pull wire at nozzle with tweezers to get about an inch of tail.
- Thread wire through channels where glass plate was.
- Thread wire through loop on front of "kicker" tension bar.
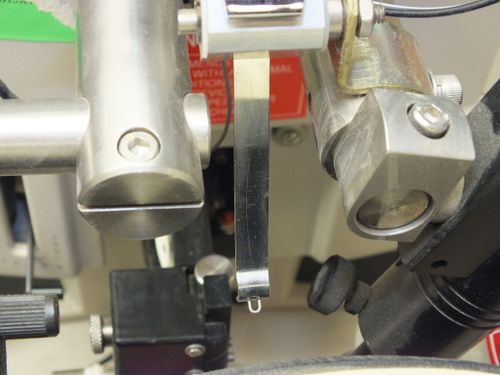
- Pull another 4 inches of wire and thread through the eyelets above and below the drag plate. Gently pull open the drag plate and slide the wire through it.
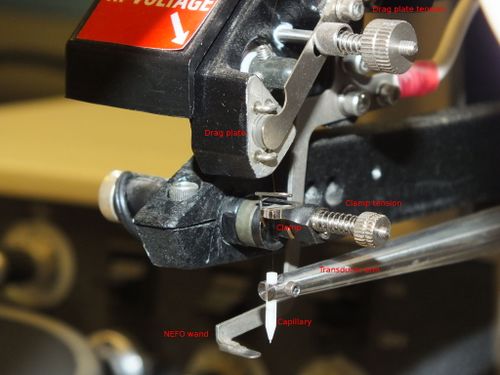
- Thread the wire through the capillary. The microscope may be helpful with this. Pull an inch of wire through the tip of the capillary to make sure it doesn't pull out during the next step.
- Open the feed wire clamp, pull the wire between the clamp jaws and through the U-shaped wire guide above it, and close the clamp. Work quickly, if the feed wire clamp is left open for more than ~3 minutes the system will time out and need a reset.
- Clean glass plate with IPA and insert it into the feed assembly with the beveled side facing down.
- Push in the NEFO wand and use the manual spark button to form a ball at the end of the freshly fed wire
