Difference between revisions of "Tutorial on making bond wire probes"
(Created page with "= Introduction = Microprobe tips will eventually wear out and snap. This is one of the techniques we've tried for making homebrew tips. Note that you will be hand soldering wi...") |
|||
| Line 4: | Line 4: | ||
Photos courtesy of Andrew Zonenberg unless otherwise noted. | Photos courtesy of Andrew Zonenberg unless otherwise noted. | ||
| − | '''EDITOR'S NOTE: This tutorial is obsolete and being kept in place to prevent dead links. The method described in [[ | + | '''EDITOR'S NOTE: This tutorial is obsolete and being kept in place to prevent dead links. The method described in [[tutorial_on_etching_tungsten_probes|this article]] results in far superior probes.''' |
= Procedure = | = Procedure = | ||
Obtain a gold bond wire from a chip that no longer needs it. I used an Altera FPGA we had damaged in an earlier decapping experiment. Several of the bond wires had been knocked off in the process, making it useless for live analysis, so I decided to snag a few of the surviving ones ;) | Obtain a gold bond wire from a chip that no longer needs it. I used an Altera FPGA we had damaged in an earlier decapping experiment. Several of the bond wires had been knocked off in the process, making it useless for live analysis, so I decided to snag a few of the surviving ones ;) | ||
Latest revision as of 01:12, 5 March 2019
Introduction
Microprobe tips will eventually wear out and snap. This is one of the techniques we've tried for making homebrew tips. Note that you will be hand soldering wires about 25 microns in diameter. A good stereo microscope is absolutely essential! (I like to use a "helping hands" vise to hold a small glass plate over the microscope objective to protect it from solder/flux spatter.)
Photos courtesy of Andrew Zonenberg unless otherwise noted.
EDITOR'S NOTE: This tutorial is obsolete and being kept in place to prevent dead links. The method described in this article results in far superior probes.
Procedure
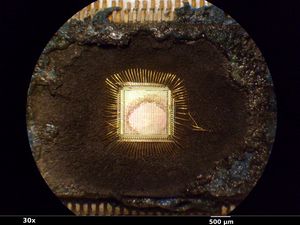
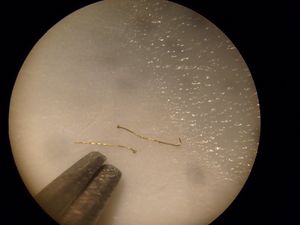
Obtain a gold bond wire from a chip that no longer needs it. I used an Altera FPGA we had damaged in an earlier decapping experiment. Several of the bond wires had been knocked off in the process, making it useless for live analysis, so I decided to snag a few of the surviving ones ;)
My finest tweezers were overwhelmingly large, making handling of the wires difficult. A good pare of extremely fine tweezers will make this much easier; a significant portion of the time I spent soldering was wasted trying to pick up the wires!
Take a piece of bare wire (22-24 gauge usually is a good compromise between size and stiffness) and apply a bead of solder (I prefer 96% tin, 3.5% silver, 0.5% copper) to the tip. Coat it liberally in flux.
Pick up the bond wire with tweezers and hold it against the wire. Ideally the bond ball will still be attached; this will result in better adhesion. Melt the solder bead on the thick wire, place the end of the bond wire in the bead, and remove heat. Be very careful not to apply too much force to the bond wire - while I have not attempted to measure their tensile strength I doubt that they can handle more than a few dozen milligrams before snapping.
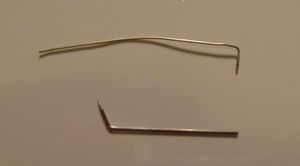
The resulting probe is seen at top with a (used) 25 micron Signatone probe at bottom.
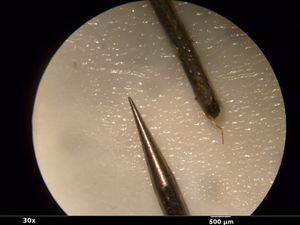
Tips of both probes under the stereo microscope:
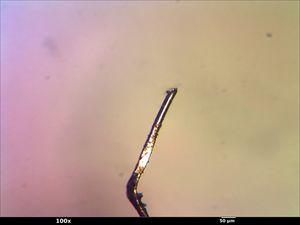
My probe under the metallurgical scope:
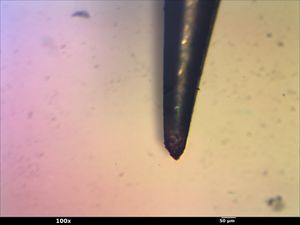
Used 25 um Signatone probe tip:
